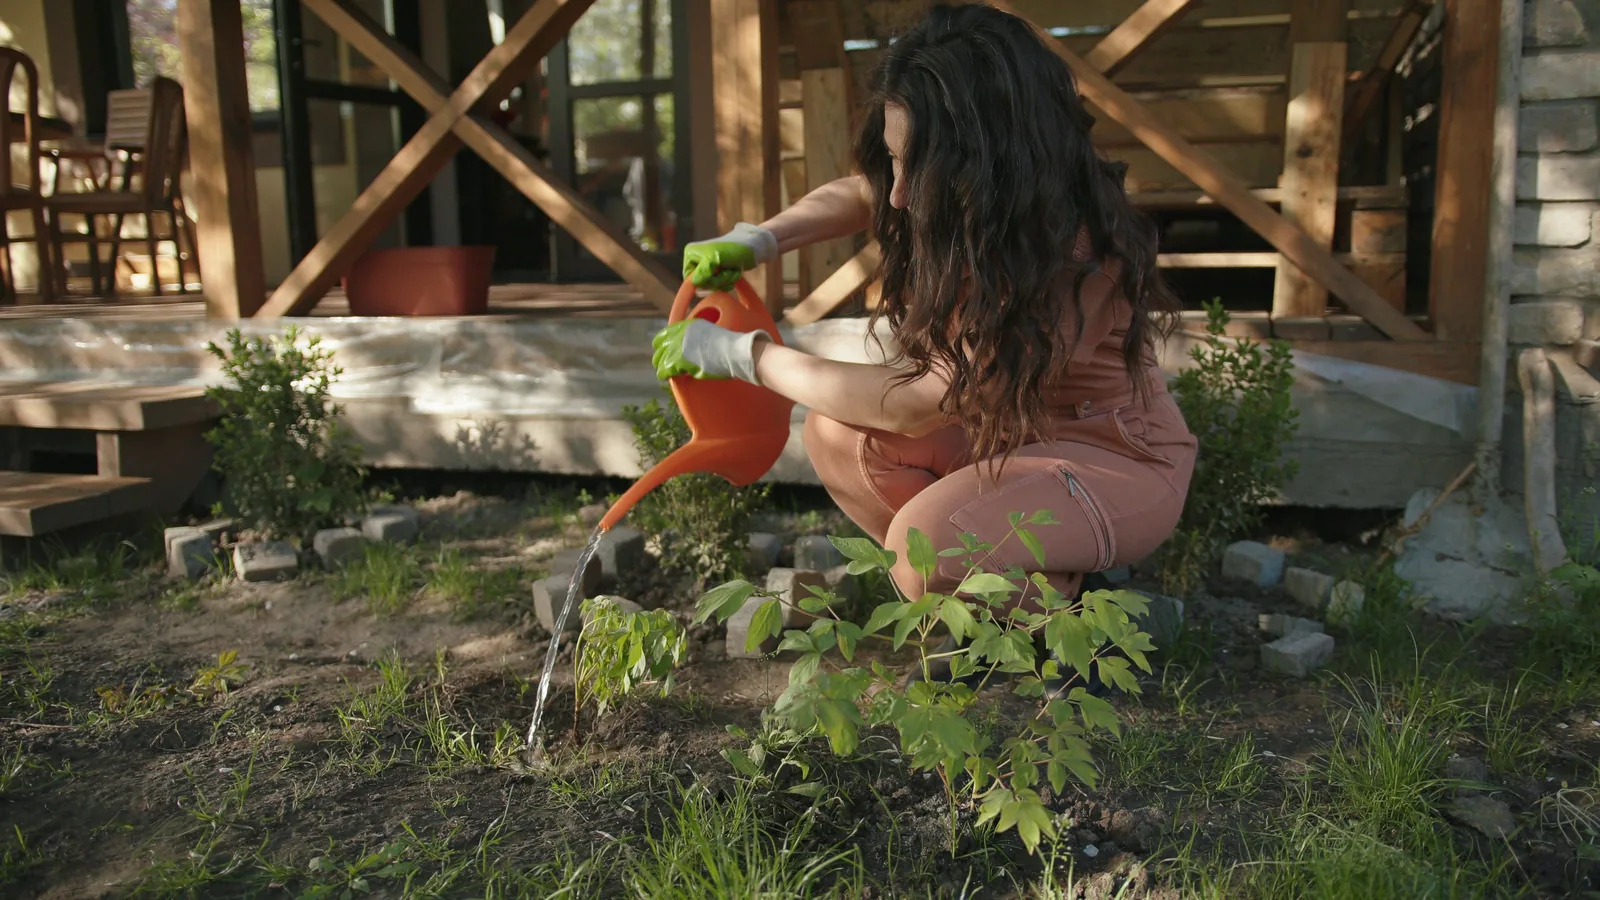
Patio Planning Guide
A practical step-by-step guide to patio planning guide, including preparation, instructions, common issues, tips, and next steps.

Patio Planning Guide
This guide provides a complete, step-by-step approach to planning a new patio, from assessing your space and choosing materials to laying the foundation and adding finishing touches. It covers practical considerations like drainage, base preparation, and maintenance, helping you avoid common mistakes. Whether you're a DIYer or hiring a contractor, this guide ensures you make informed decisions to create a durable, functional, and attractive outdoor living area that suits your home and lifestyle.
Fast Answer
- Start by measuring your yard and sketching a rough layout, then decide on the patio's purpose (dining, lounging, or both) to determine size and shape.
- Choose materials based on climate, maintenance, and aesthetics; prepare a solid base with gravel and sand, and ensure proper drainage away from your home.
Before You Start
- Measure the intended patio area and sketch a scale drawing, noting the house location, existing walkways, and utility lines.
- Check local building codes and homeowner association rules for setback requirements, permits, and material restrictions.
- Decide on the patio's primary function: dining, entertaining, or quiet retreat, which affects size, shape, and features.
- Call your local utility locator service to mark underground lines before any digging.
Step-by-Step Instructions
Assess Your Space and Needs
Begin by measuring the area where you plan to build the patio. Use a tape measure and mark the dimensions on paper, noting any slopes, trees, or existing structures. Consider how you will use the space: a dining area might need at least 10x12 feet for a table and chairs, while a lounging area could be more flexible. Also, think about sun exposure and wind patterns, as you may want to incorporate shade or windbreaks. Sketch a rough layout, including the proposed shape—rectangular, square, or freeform. Check if the area is level; slight slopes may require additional excavation. This assessment guides all subsequent decisions, from materials to layout, ensuring the patio meets your needs and fits your yard harmoniously.
Select Materials and Design
Choose patio materials that complement your home's exterior and meet your maintenance preferences. Common options include concrete pavers, natural stone, brick, and gravel. Pavers are versatile and easy to replace, while natural stone offers a unique look but may require more care. Consider climate: in cold regions, use materials that resist frost heave, such as concrete pavers with proper base. Also, decide on the pattern—herringbone, running bond, or random—which affects visual appeal and stability. Think about color and texture; light colors reflect heat, while dark absorb it. Budget is a factor, but prioritize quality over cost for longevity. Sketch your design and consult a supplier for technical specifications on thickness and weight. This step ensures your patio is both beautiful and functional, fitting your lifestyle and local conditions.
Prepare the Site and Excavate
Clear the area of vegetation, grass, and debris. Mark the patio perimeter with stakes and string, using a straight edge or curb if needed. Excavate the soil to a depth of about 6-8 inches, depending on base material and pavers. Use a shovel or rent a sod cutter for larger areas. Ensure the excavation is level; for slopes, create a slight grade away from your house (about 1/4 inch per foot) to direct water runoff. Remove any soft spots and replace with compactable fill. Digging may reveal roots or rocks; remove them to prevent uneven settling. Check the depth with a level and measuring tape. This step is critical for a stable, long-lasting patio, as a proper excavation prevents shifting and water accumulation near your foundation.
Install the Base Layers
Add a geotextile fabric over the excavated soil to prevent weed growth and stabilize the base. Then, spread a 4-inch layer of crushed stone or gravel. Use a rake to spread it evenly and a plate compactor to compact it thoroughly. Compact in layers—add 2 inches, compact, then add another 2 inches—to ensure a firm base. Check for levelness and proper slope using a level and straightedge. Next, add a 1-inch layer of coarse sand over the gravel, and screed it flat using straight boards. Moisture the sand slightly to help compaction. This foundation distributes weight and allows drainage, preventing your patio from sinking or cracking over time. The quality of this step determines the overall durability, so do not rush or skip compaction.
Lay the Pavers or Stones
Starting from a corner, lay your pavers or stones on the sand bed. Use a rubber mallet to tap each paver into place, ensuring they are level with each other. Keep gaps consistent; typically 1/8-1/4 inch. Use strings as guides to keep rows straight. For complex shapes, cut pavers with a wet saw or angle grinder to fit edges. Periodically check with a level that the surface is even and has a slight slope away from the house. If you are using interlocking pavers, install edge restraints to prevent shifting. This step requires patience and precision; a well-installed surface looks professional and lasts decades, while a sloppy layout leads to uneven walking surfaces and future maintenance.
Fill Joints and Finish
After all pavers are laid, spread polymeric sand over the surface and sweep it into the joints using a broom. Use a plate compactor to vibrate the pavers, which helps the sand settle deep into gaps. Add more sand as needed to fill joints completely. Then, mist the patio gently with water to activate the sand; this causes it to harden and lock the pavers together. Allow it to dry according to manufacturer instructions. Next, install edge restraints along the perimeter to secure the outer pavers. Finally, clean the surface and apply a sealer if desired. This finishes the patio, making it weather-resistant and stable, giving you a neat and durable surface for years to come.
Quick Reference
| Situation | Action | Why it helps |
|---|---|---|
| Your patio is sloping toward the house causing water pooling. | Re-grade the patio by lifting affected pavers, adding more base material, and re-compacting with a slight slope away from the house. | Directing water away from the foundation prevents basement leaks, soil erosion, and structural damage over time. |
| Grass or weeds are growing up through the patio joints. | Remove existing weeds, then vacuum out joints and refill with polymeric sand, and consider applying a weed killer before reinstalling. | Preventing weed growth in joints maintains a clean appearance and prevents pavers from being dislodged by root pressure. |
| Pavers are settling or shifting unevenly. | Lift the uneven pavers, remove them, and add a layer of sand to re-level the bed, then re-compact and refill joints with sand. | Even settlement ensures a safe walking surface and prevents trip hazards, maintaining the integrity of the patio. |
Common Issues
- Patio surface cracking or splitting in cold winters.: Ensure you have a proper base with adequate drainage and use flexible pavers or stones that can withstand freeze-thaw cycles. If cracks appear, replace damaged pieces and check the base.
- Water pooling on the patio after rain.: If pooling occurs, you may need to re-grade the patio by lifting affected areas, adding more base material, and recompacting to create a slight slope away from your home.
- Paver displacement due to heavy use or edge erosion.: Install rigid edge restraints to keep pavers in place. If edges erode, reset them and ensure the base extends beyond the edge to support the restraints.
Advanced Tips
- Incorporate a drainage channel or French drain along the patio perimeter to direct excess water away and reduce erosion.
- Use a miter saw with a diamond blade for clean, precise cuts on pavers, especially for curves and intricate patterns.
- Consider installing outdoor lighting, such as low-voltage path lights or LED strips, to enhance safety and ambiance during evening use.
Final Checklist
- Confirm that your patio grade slopes away from your house by at least 1/4 inch per foot.
- Ensure all paver joints are filled completely with polymeric sand and compacted to lock them in place.
- Install edge restraints around the entire perimeter to prevent shifting over time.
- Allow the polymeric sand to cure fully before using the patio, as per manufacturer instructions.
FAQ
How thick should the base layer be for a paver patio?
For most residential patios, a base of 4 inches of compacted gravel is sufficient. If you have heavy foot traffic or use machinery, you may need 6 inches. Always compact in layers and verify with a level to ensure a stable base.
Can I install a patio directly on grass?
No, installing directly on grass is not recommended because grass will decompose, causing pavers to sink and shift. You must excavate the grass, add a base of gravel and sand, and compact it thoroughly to provide a stable foundation.
Do I need a permit to build a patio?
Permit requirements vary by locality. Check with your local building department or planning office to see if a permit is required. Typically, patios under a certain size and not attached to the house may not need one, but you should always verify to avoid fines and safety issues.