Back Garden Weekend Project
A practical step-by-step guide to back garden weekend project, including preparation, instructions, common issues, tips, and next steps.

Back Garden Weekend Project
This guide walks you through transforming a neglected back garden into a pleasant outdoor space over one weekend. It covers planning, clearing, soil preparation, planting, and adding simple finishing touches. The focus is on practical actions that fit within two days, using common tools and materials. You will learn how to assess your garden, remove weeds and debris, improve soil, choose easy-care plants, and create a neat border or pathway. The guide also helps you avoid common mistakes and offers tips for a polished result. By the end, you will have a refreshed garden that is ready for relaxing or entertaining.
Fast Answer
- Clear the area of weeds and debris, then dig over the soil and add compost to give your plants a healthy start.
- Choose a few low-maintenance plants that suit your sunlight, plant them, and finish with mulch and a swept path for a tidy look.
Before You Start
- Inspect your garden to identify the sunniest and shadiest spots, noting any existing plants you want to keep.
- Gather essential tools like a spade, fork, gloves, trowel, and watering can, plus a wheelbarrow or large bucket for debris.
- Buy or compost organic matter such as garden compost or well-rotted manure to enrich the soil before planting.
- Choose simple plants like hardy perennials or small shrubs that are known for being undemanding and matching your garden’s light.
Step-by-Step Instructions
Clear the Canvas
Start by removing everything that does not belong in the garden. Pull out weeds by hand or use a trowel for stubborn roots. Pick up litter, fallen branches, and any broken pots or planters. If there is a patch of lawn that you want to keep, give it a quick mow to set a baseline. For larger areas of weeds, you can use a hoe or a sharp spade to slice them off below the surface. Place all the debris into a wheelbarrow or a strong garden bag. This initial clearing gives you a blank canvas and prevents weeds from competing with your new plants for water and nutrients. Once the area is clear, you can see the true shape of your garden and plan where to place beds, borders, or a seating area. Do not skip this step because it sets the foundation for everything else.
Prepare the Soil
Use a garden fork or spade to dig over the cleared soil to a depth of about 20–25 centimetres. Break up large clods and remove any roots, stones, or debris you uncover. This loosens the soil so plant roots can spread easily and improves drainage. Spread a generous layer of garden compost or well-rotted manure over the area and work it in with the fork. The organic matter enriches the soil with nutrients and improves its structure, whether your soil is sandy or heavy clay. If your soil is very poor, you can also add a slow-release fertiliser formulated for garden beds. After mixing, rake the surface level to create a smooth planting bed. This preparation gives your plants the best possible start and reduces the likelihood of waterlogging or drought stress. Test the soil by squeezing a handful—if it forms a ball that crumbles when prodded, it is in good shape.
Choose Your Plants Wisely
Think about how much sunlight your garden gets and select plants that will thrive in those conditions. For sunny spots, choose plants that are labeled as sun-loving, such as lavender, rosemary, or stonecrop. For shady areas, opt for ferns, hostas, or English ivy—but keep in mind that ivy can be invasive, so you may prefer something like brunnera. Consider the height and spread of each plant at maturity so they do not overcrowd each other. Also think about colour and texture; mixing foliage shapes creates interest even when flowers are not blooming. Visit a local nursery and ask for advice on plants that are easy to care for in your region. When buying, check that the plants are healthy, with strong stems and no signs of pests or disease. Buy only what you can plant in a day to reduce stress on the plants.
Plant with Care
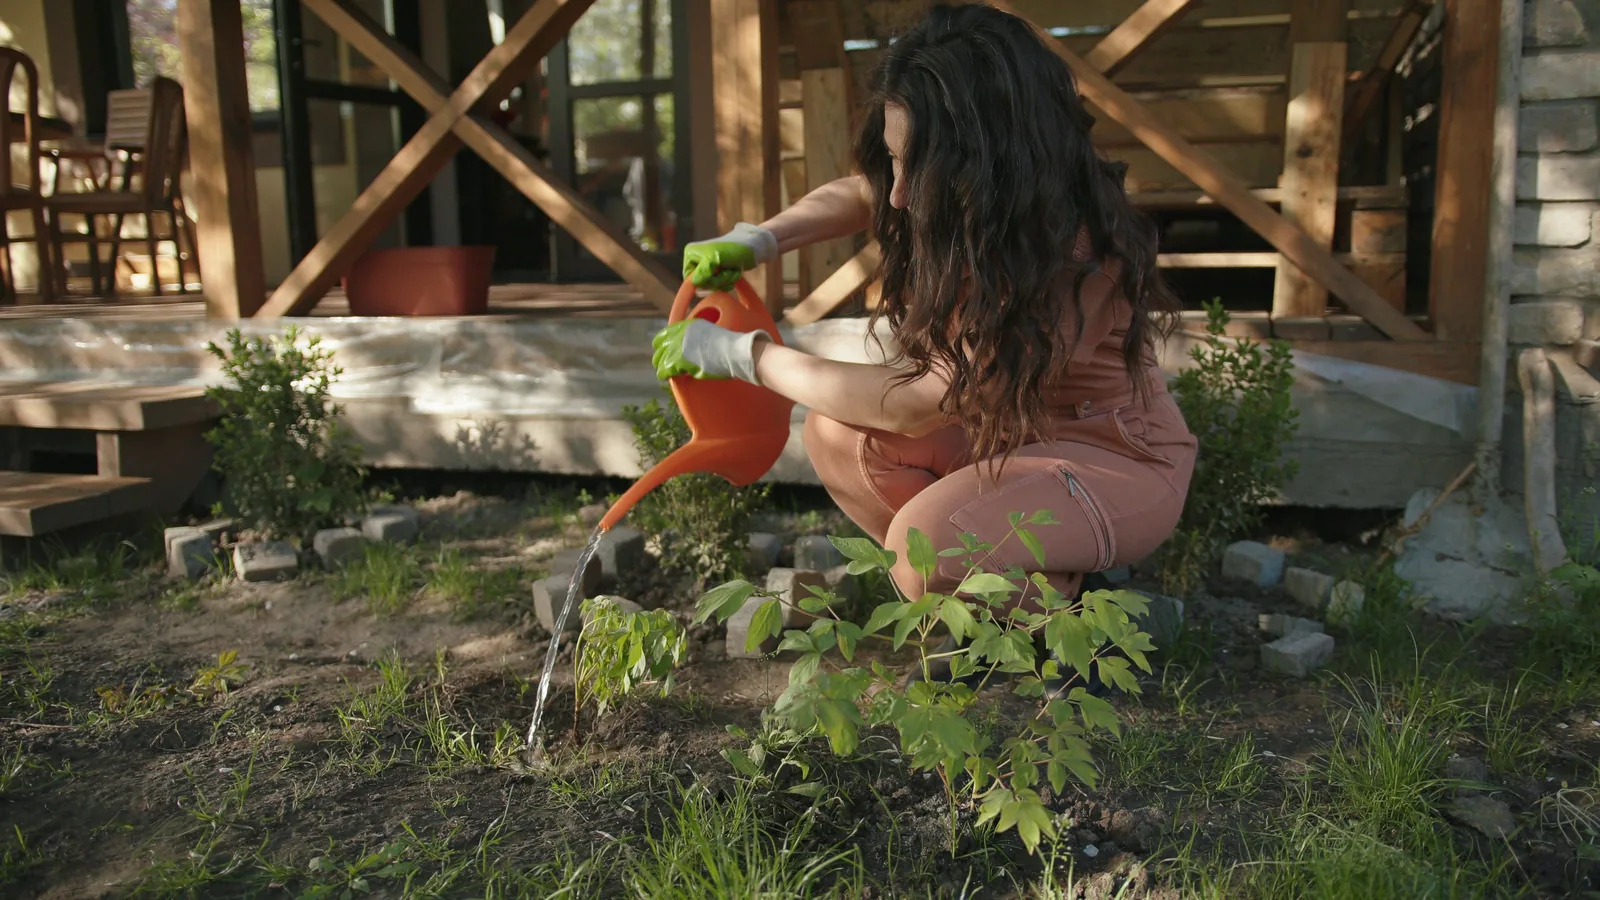
Lay out your plants on the prepared soil while they are still in their pots to adjust the arrangement. Allow enough space between each plant for its mature size—usually the label provides a recommended spacing. Dig a hole that is about twice the width of the root ball and just as deep. Gently remove the plant from its pot, loosen the roots if they are circling the pot, and place it in the hole. Ensure the top of the root ball is level with the surrounding soil, then backfill with soil and press down lightly to remove air pockets. Water each plant thoroughly after planting, using a watering can with a rose to avoid disturbing the soil. This helps the roots make contact with the new soil and settles any gaps. Continue planting until all your chosen plants are in place. Proper planting depth is crucial; if set too deep, the stem may rot, and if too shallow, roots may dry out.
Add a Finishing Touch
Now that your plants are in, take steps to make the garden look neat and intentional. Spread a layer of mulch, such as wood chips, bark, or gravel, around the plants to a depth of about five centimetres. This suppresses weeds, helps the soil retain moisture, and gives a uniform, tidy appearance. If you have bare soil paths, you can lay stepping stones or cover them with gravel to define walking areas. Use an edging tool to create clean lines between lawn and beds. This not only looks pleasing but also makes mowing easier and prevents grass from creeping into your new plants. Having a clear boundary between areas adds structure and makes the garden feel organised. Take a step back and adjust any plants that seem out of place. Finally, sweep any loose soil or debris from paths and hard surfaces.
Water and Maintain
Newly planted gardens need regular watering to establish. Water deeply and less frequently rather than lightly every day, as this encourages roots to grow deeper into the soil. For the first two weeks, check the soil daily and water if the top inch feels dry. After that, reduce watering gradually as the plants adapt. Keep an eye out for weeds that may pop up and remove them promptly before they set seed. Deadhead any spent flowers to encourage more blooms and keep the garden looking fresh. As plants grow, you may need to loosen any heavy mulch or add more compost around them. A simple routine of a weekly check, weeding, and watering during dry periods will keep your garden thriving. Remember that overwatering can be as harmful as underwatering, so always feel the soil first. With consistent care, your garden will become established and require less intervention.
Quick Reference
| Situation | Action | Why it helps |
|---|---|---|
| You have a patch of stubborn perennial weeds like bindweed or dandelions. | Dig out the entire root system with a fork, then dispose of weeds in a bag rather than compost heap. | Perennial weeds can regrow from root fragments, so removing all roots prevents them from coming back. |
| The soil in your garden is heavy clay and water pools after rain. | Work in plenty of coarse grit and organic matter, and raise planting beds by adding topsoil. | Improving drainage and aeration prevents waterlogged roots, which cause rot and poor growth. |
| You notice some plants are wilting even though you water them often. | Check that you are watering deeply enough, and consider moving plants that get too much sun. | Shallow watering encourages weak roots, and excessive heat can stress plants, so adjusting both factors helps. |
Common Issues
- Plants turn yellow and look sickly after planting.: Check if the soil is too wet or too dry; adjust watering and ensure the planting depth is correct, as deep planting can cause stem rot.
- Weeds keep coming back despite mulching.: Use a thicker layer of mulch (at least 5 cm) and pull out weeds before they flower, or lay a weed barrier fabric under the mulch.
- Slugs and snails are eating your new plants.: Create barriers like crushed eggshells or copper tape around plants, and remove damp debris where they hide; water in the morning to reduce activity.
Advanced Tips
- Consider planting in drifts—groups of three or five of the same plant—to create a natural, flowing look that feels designed rather than random.
- Install a simple drip irrigation system connected to a rain barrel to conserve water and keep your plants evenly hydrated during warm weekends.
- Incorporate a mix of evergreen and deciduous plants to give your garden structure and interest throughout the year, not just in summer.
Final Checklist
- Pull any remaining weeds and clear the garden of all debris, leaving a clean and open space.
- Dig and enrich the soil with compost, then rake it smooth and even across the entire bed.
- Plant your chosen plants at the correct depth and spacing, then water them thoroughly.
- Add a layer of mulch, define the edges, and clean all paths and tools to finish the project.
FAQ
How long should I water my newly planted garden?
Water thoroughly immediately after planting, then keep the soil consistently moist for the first two weeks. After that, gradually reduce watering, but continue to check the soil and water when the top inch is dry. Most plants need about 2.5 cm of water per week, but this can vary based on weather and soil type.
What is the best time to plant?
Late spring or early autumn are generally ideal because temperatures are mild and rain is more regular, which helps plants establish without heat stress. Avoid planting during very hot, dry spells or when the ground is frozen. However, container-grown plants can be planted any time if you water them diligently afterward.
Do I need to remove grass before planting a flower bed?
Yes, because grass competes with your new plants for water and nutrients. You can dig out the turf by hand, or smother it with newspaper and mulch a few weeks before planting. Removing the grass ensures that your plants get all the resources they need to grow healthy.