Small Garden Planning Guide
A practical step-by-step guide to small garden planning guide, including preparation, instructions, common issues, tips, and next steps.

Small Garden Planning Guide
This guide helps you create a beautiful and productive small garden, covering planning, soil preparation, plant selection, planting, watering, and maintenance. It provides clear steps, practical tips, and solutions to common issues, ensuring your garden thrives even in limited space.
Fast Answer
- Start by measuring your space, observing sunlight and wind patterns, and sketching a simple layout on paper before buying any plants.
- Choose a few easy-to-grow plants that suit your light and climate, and group them by their water needs to simplify care.
Before You Start
- Measure the garden area and note the dimensions; use this to calculate how many plants you can fit without overcrowding.
- Observe the sunlight: track how many hours of direct sun each part of the garden gets; most vegetables need at least 6 hours.
- Test your soil drainage: dig a small hole, fill with water, and see how long it takes to drain; this tells you if you need to amend it.
- Gather basic tools: a trowel, hand fork, gloves, watering can or hose, and a small bag of compost or well-rotted manure.
Step-by-Step Instructions
Measure and Map Your Garden Space
Start by measuring the length and width of your garden area with a tape measure. Record these numbers on a piece of graph paper, using a scale like 1 square equals 1 foot. Draw in any permanent features such as paths, fences, or water spigots, since these affect where you can plant. Next, trace the sun's path across the garden on a sunny day, noting which parts get morning sun, afternoon sun, or full shade. This map becomes your master plan. Check that your drawing includes all existing plants or structures that cast shade, such as trees or sheds, because the shadow pattern changes with the seasons. Why does this matter? If you plant sun-loving vegetables in a shaded corner, they will not produce well. A simple map helps you match plants to the right spots, saving time and money.
Prepare the Soil for Healthy Growth
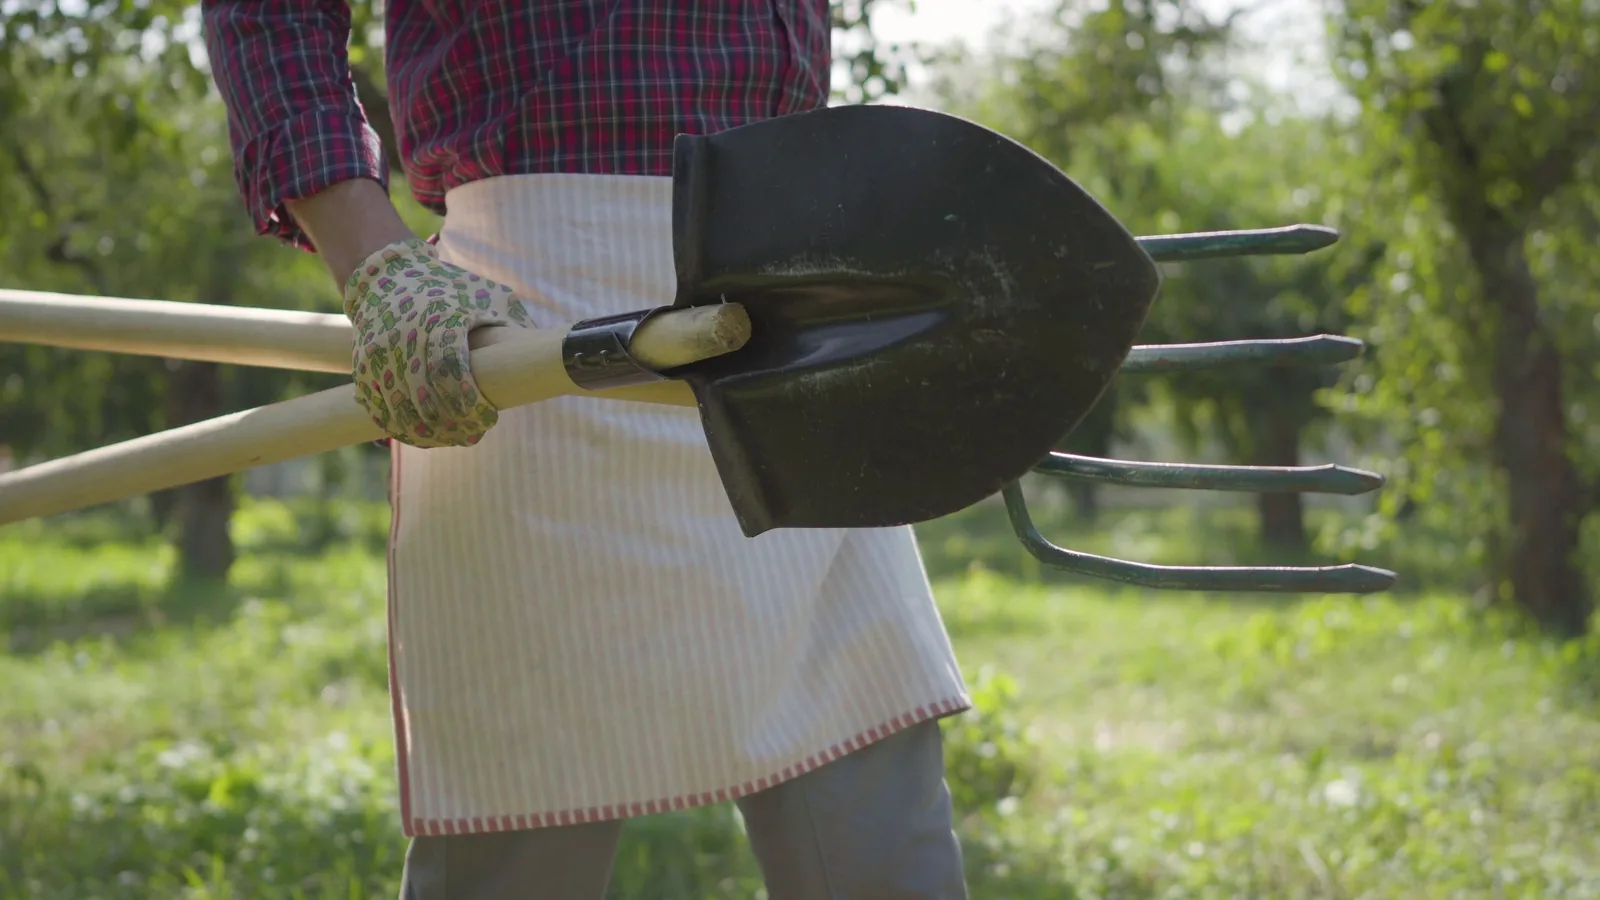
Begin by clearing the area of weeds, grass, and large stones. Use a spade to turn the top 8–10 inches of soil, breaking up clumps at the same time. Then spread a 2–3 inch layer of compost or well-rotted manure over the surface and mix it in thoroughly with a garden fork. This organic matter improves both drainage and moisture retention, and it feeds beneficial soil life. Test the soil's texture by squeezing a handful: if it forms a crumbly ball that falls apart easily, it is good. If it stays dense and sticky, work in more compost or coarse sand. Check that the soil is free of debris that could block root growth. Why does this matter? Healthy soil is the foundation of a successful garden; roots cannot absorb nutrients effectively if the soil is compacted or nutrient-poor. This step gives your plants the best start.
Choose Plants That Fit Your Space and Light
List the kinds of plants you want, but then check their mature size and light needs on seed packets or plant tags. For a small garden, choose compact or dwarf varieties, such as bush tomatoes or patio peppers, that take up less room. Group plants with similar sunlight needs together: for example, leafy greens like lettuce and spinach prefer partial shade, while fruiting crops like peppers and cucumbers need full sun. Also consider how much time you want to spend caring for them—some plants are more demanding than others. Make a final list that matches your garden's sun exposure and your available time. Check that you have not chosen too many plants; overcrowding leads to disease and poor air flow. Why does this matter? Matching plants to your conditions reduces stress on the plants and on you, leading to a more enjoyable and productive garden.
Lay Out and Plant Your Garden Beds
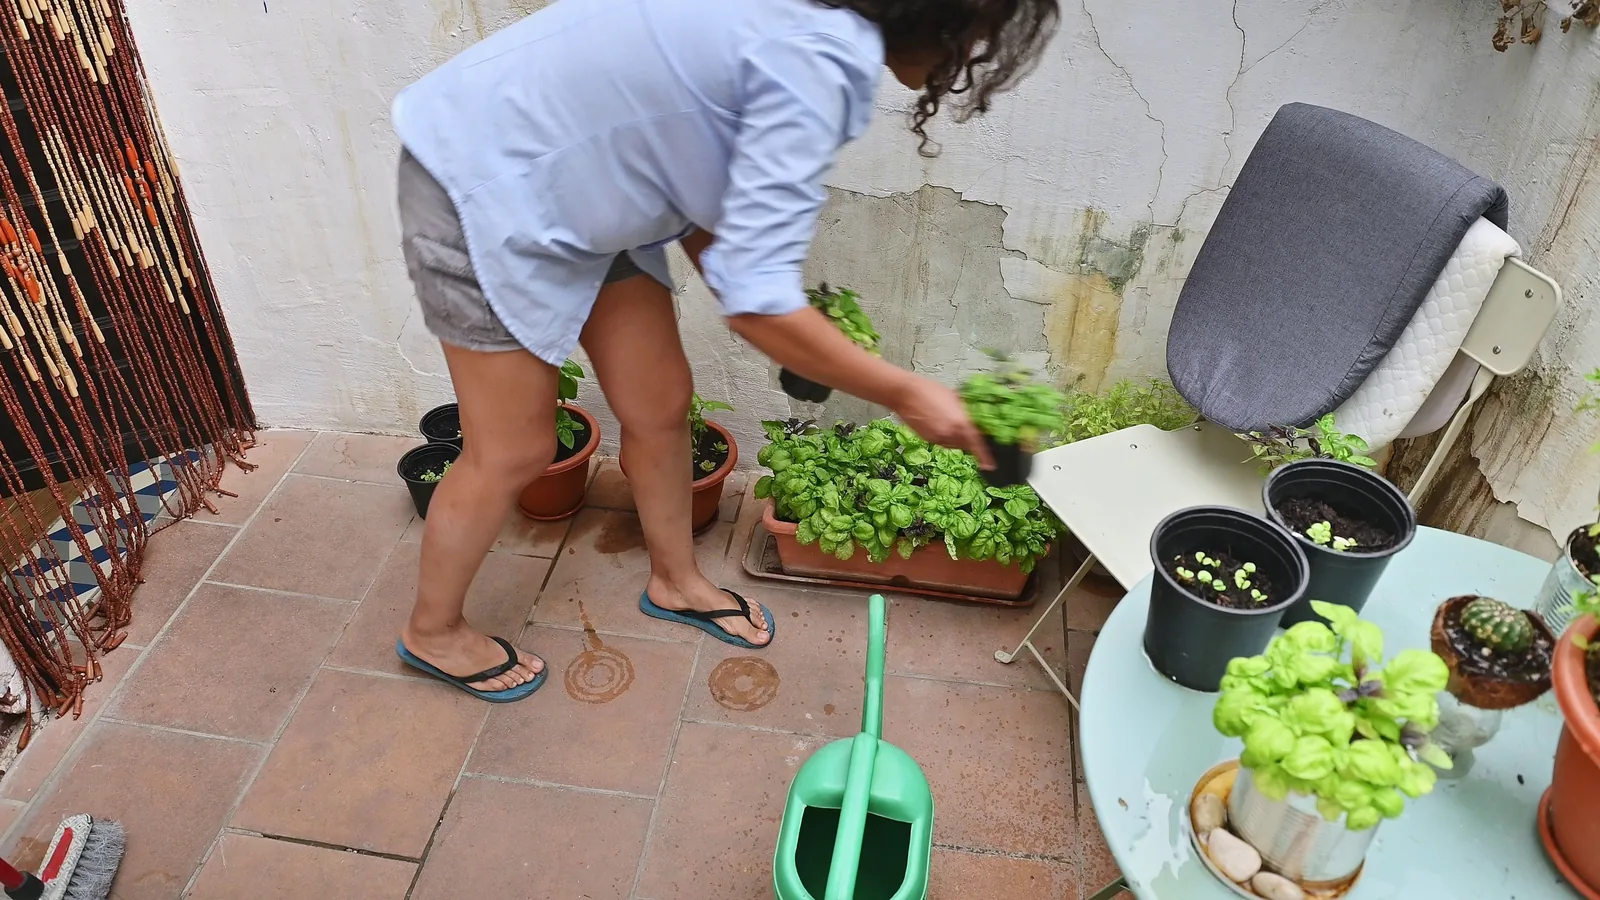
Using your map, transfer the plan to the garden by marking spots with small stakes or flour. Space plants according to the tag's recommended distance, which allows for mature growth. Dig a hole for each plant, about twice the width of the root ball and the same depth. Gently remove the plant from its pot, loosen the roots if they are circling, and place it in the hole. Backfill with soil and press down lightly to remove air pockets. After planting, water each plant thoroughly at the base to settle the soil. Check that the top of each root ball is level with the surrounding soil; burying too deep can rot the stem. Why does this matter? Proper spacing and planting depth ensure good airflow and reduce competition for water and nutrients, which helps prevent fungal diseases and weak growth.
Water Efficiently to Encourage Deep Roots
After planting, establish a watering routine based on rainfall and your soil type. In general, give the garden about 1 inch of water per week, but adjust for hot, dry spells or sandy soil that drains quickly. Water at the base of plants early in the morning to reduce evaporation and allow leaves to dry, which helps prevent mold. Use a soaker hose or drip irrigation if possible, as these deliver water directly to the roots without wetting the foliage. Check soil moisture by inserting your finger into the ground near the plants; if it feels dry 1–2 inches down, it's time to water. For containers, water until it runs out of the drainage holes. Why does this matter? Deep, infrequent watering encourages roots to grow deeper, making plants more drought-tolerant. Overwatering or frequent light watering can lead to shallow roots and rot.
Maintain and Tidy Your Garden Regularly
Check your garden at least twice a week for weeds, pests, and overall health. Remove any weeds as soon as you see them, pulling the entire root to prevent regrowth. Inspect the undersides of leaves for pests like aphids or caterpillars; if you find them, pick them off by hand or wash them away with a stream of water. Harvest crops regularly once they mature, as this encourages more production. Prune or stake plants that need support, such as tomatoes or beans, to keep them upright and improve air circulation. Apply a balanced organic fertilizer every 3–4 weeks if you want to boost growth. Check that the garden is tidy because clutter can hide problems. Why does this matter? Regular maintenance catches small issues before they become big ones, and it keeps your garden productive and enjoyable to look at.
Quick Reference
| Situation | Action | Why it helps |
|---|---|---|
| You notice yellowing leaves on your plants. | Check the soil moisture: if it is soggy, reduce watering; if dry, water deeply. Also inspect for nutrient deficiencies and adjust feeding accordingly. | Yellow leaves often indicate overwatering, underwatering, or lack of nutrients, so correcting these conditions prevents further damage. |
| Plants are growing tall but not producing fruit. | Ensure they are getting at least 6 hours of direct sunlight, and reduce nitrogen fertilizer; use one higher in phosphorus to encourage flowering and fruiting. | Too much nitrogen promotes leaf growth over flowers and fruit, and insufficient sunlight also reduces fruit set. |
| You see small holes in leaves or chewed edges. | Inspect the leaves for caterpillars or slugs, especially at night with a flashlight. Handpick pests and apply a natural insecticidal soap if needed. | Catching pests early prevents them from spreading and causing serious damage to your plants. |
Common Issues
- Overwatering causes root rot and wilting.: Allow the top 1–2 inches of soil to dry out before watering again, and make sure containers have drainage holes. Remove any affected plants with mushy roots and replant in fresh, well-draining soil.
- Insufficient sunlight leads to leggy, weak growth.: Move containers to a sunnier spot or trim overhanging branches that block light. For in-ground gardens, consider planting more shade-tolerant varieties in those areas and reserve sun-loving plants for the brightest spots.
- Weeds compete with your plants for water and nutrients.: Pull weeds regularly, especially after rain when soil is soft. Apply a layer of mulch to suppress new weeds, and consider using a hoe to cultivate between rows.
Advanced Tips
- Install a rain barrel to collect rainwater for your garden, saving water and providing chemical-free moisture for your plants.
- Practice companion planting, such as basil with tomatoes, to deter pests naturally and improve flavor without extra work.
- Use vertical gardening techniques like trellises or wall planters to grow vining crops, maximizing your yield in small spaces.
Final Checklist
- Measure the garden area and create a detailed map with sun and shade patterns.
- Amend the soil with compost or manure and ensure good drainage.
- Choose plant varieties suited to your light, climate, and available space, and space them properly.
- Water deeply and regularly, maintain a mulched bed, and monitor for pests and weeds weekly.
FAQ
How much time do I need to spend weekly on a small garden?
Expect to spend about 2–3 hours per week on basic tasks like watering, weeding, and inspecting for pests. During peak season, you may need more time for harvesting and pruning, but a well-planned garden with mulching and drip irrigation can reduce this effort.
Can I grow vegetables in a small garden that gets limited direct sun?
Yes, but choose leafy greens and root vegetables that tolerate partial shade, such as lettuce, spinach, and radishes. They need only about 4–6 hours of sunlight. If you have just 2–3 hours, consider focusing on herbs like mint or parsley, which are more shade-tolerant.
What is the best way to deal with pests without chemicals?
Start by encouraging beneficial insects like ladybugs and lacewings by planting flowers such as marigolds or dill nearby. For immediate control, use a strong spray of water to dislodge aphids, handpick larger pests, and apply insecticidal soap or neem oil as a natural solution. Always test on a small area first.