How To Store Garden Tools
A practical step-by-step guide to how to store garden tools, including preparation, instructions, common issues, tips, and next steps.
How To Store Garden Tools
Storing garden tools properly extends their life, prevents rust and damage, and keeps your shed or garage organized. This guide covers cleaning, drying, sharpening, oiling, and hanging tools, plus seasonal care and troubleshooting common storage problems. Follow these steps to protect your investment and make every gardening session safer and easier.
Fast Answer
- Clean and dry each tool after every use, then apply a light oil to metal parts to prevent rust.
- Hang tools on a wall rack or pegboard, keep them off the ground, and store in a dry, sheltered place.
Before You Start
- Gather a stiff brush, mild soap, water, a bucket, and clean rags for removing dirt and sap.
- Have fine-grit sandpaper or a wire brush ready to scrub rust and smooth rough edges.
- Prepare a container of boiled linseed oil or mineral oil and a small brush or cloth for coating metal.
- Set aside a sturdy wall rack, pegboard, or hooks, plus a container of sand or silica gel to absorb moisture.
Step-by-Step Instructions
Clean Every Tool Thoroughly
Start by removing loose soil, sap, and plant residue from each tool. Use a stiff brush or a putty knife to scrape off caked-on dirt from heads and handles. For sticky sap, wipe with a rag dipped in warm soapy water. Rinse thoroughly with clean water, but avoid soaking wooden handles for long periods, as excess water can cause the wood to swell and crack. After rinsing, shake off excess water and lay the tools flat on a tarp or bench. This step removes the organic matter that can hold moisture against metal and wood. Check that all visible grime is gone, especially around joints and crevices. A clean surface is essential for the next steps to work effectively. If rust spots are present, note them for later treatment.
Dry Tools Completely
After cleaning, drying is critical to prevent rust. Use a clean, dry cloth to wipe down every metal surface and wooden handle. Pay special attention to hinges, sockets, and any crevices where water hides. For hard-to-reach areas, use an old toothbrush or cotton swabs. Let the tools air-dry in a sunny, well-ventilated spot for at least an hour to ensure no moisture remains. If you are in a hurry, you can place them near a fan or use a hairdryer on a cool setting, but avoid direct heat that could damage wooden handles. Check the tools by running a dry finger over metal; it should feel completely smooth and dry. This step prevents the formation of rust, which begins when water contacts unprotected metal. Even a small drop of water can start corrosion if left overnight.
Remove Rust and Sharpen Edges
Inspect each tool for rust patches and dull blades. For light rust, use fine-grit sandpaper (around 120 to 220 grit) to scrub the area until the shine returns. For heavier rust, a wire brush or a rust-removing solution may be needed—follow the product's safety instructions. After removing rust, sharpen blades with a file or sharpening stone. Hold the tool securely and draw the file along the original bevel angle, usually about 45 degrees, in one direction from the base to the tip. Repeat until the edge feels sharp to the touch, but be careful not to over-file, which can weaken the blade. Test the sharpness by making a clean cut through a piece of paper. Sharp tools are safer because they require less force and are less likely to slip. This step also extends the life of your tools and makes gardening easier.
Oil Metal Parts and Wooden Handles
Apply a thin layer of oil to all metal surfaces to create a moisture barrier that prevents rust. Use a cloth or small brush to spread a few drops of boiled linseed oil or mineral oil over the entire metal head. Wipe off any excess to avoid a sticky residue that attracts dirt. For wooden handles, apply the same oil or a dedicated wood oil to nourish the wood and prevent cracking. Let the oil penetrate for about 15 minutes, then buff with a clean, dry cloth. Be sure to cover the entire handle, including the end that meets the metal. The oil also helps repel water and keeps the wood from splintering. Check that your hands do not feel greasy after touching the tool; if they do, wipe again. Proper oiling ensures your tools are ready to use at a moment's notice.
Hang Tools on a Wall Rack or Pegboard
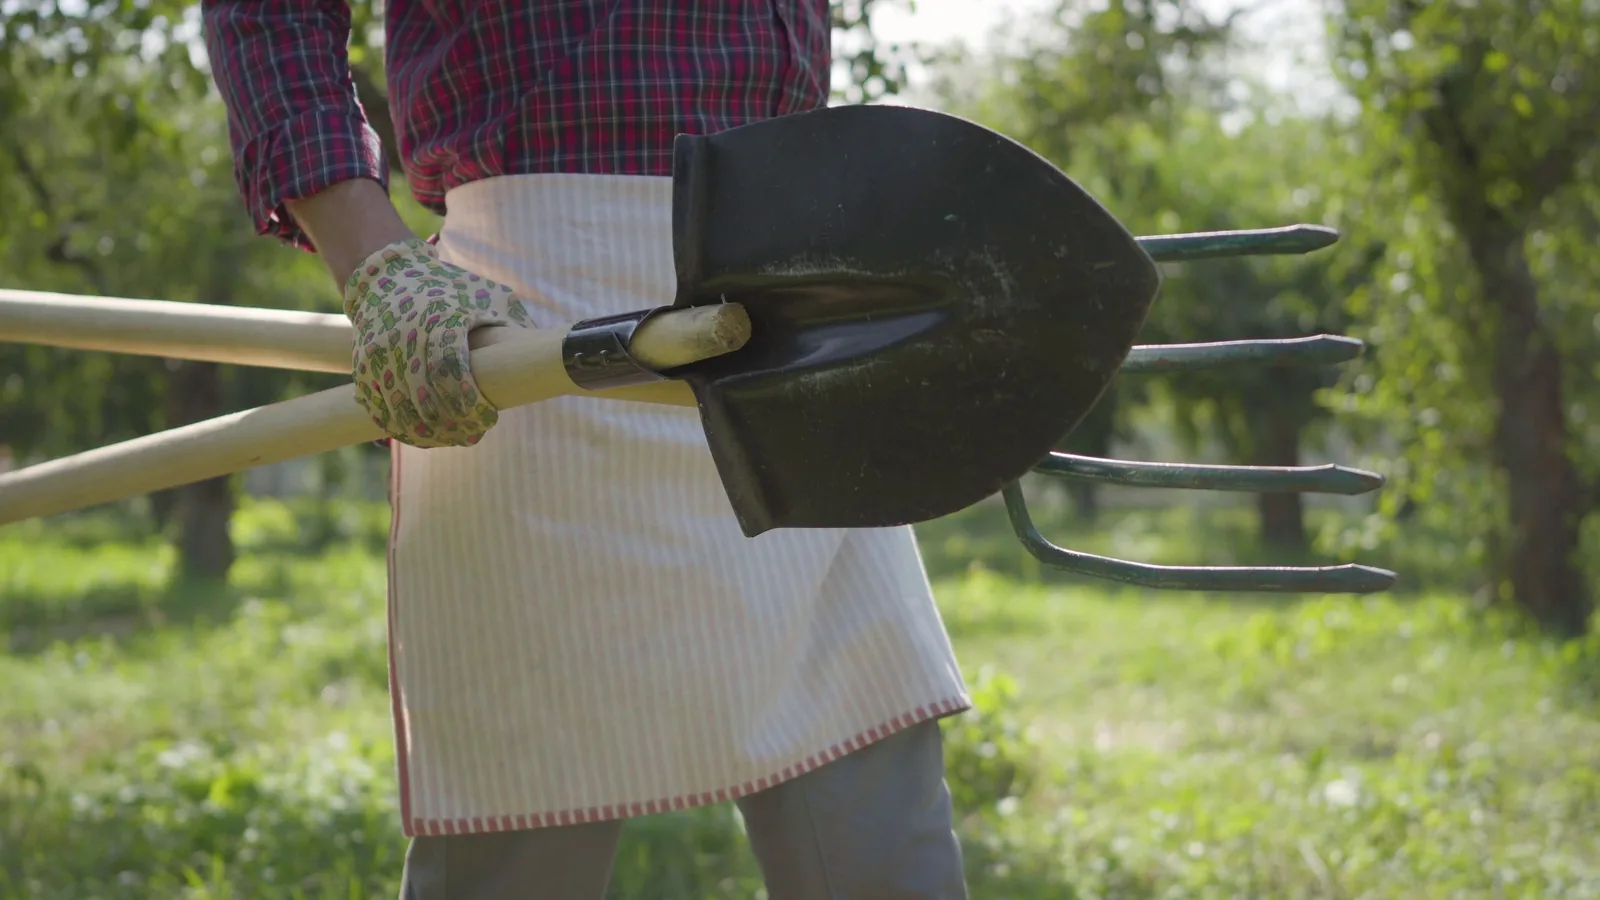
Choose a dry, ventilated wall in your garage or shed to mount a rack or pegboard. Place the rack at a comfortable height, leaving enough space between tools to prevent them from clanging together. Hang tools by their handles using hooks or clips, ensuring they are secure and will not fall. For long-handled tools like shovels and rakes, use a rack with large hooks or a dedicated holder. Arrange tools by frequency of use, with daily tools at the front. This step keeps tools off the ground, where moisture and dirt accumulate, and prevents accidental damage from being stepped on. It also makes it easy to see what you have and maintain an organized space. Check that each tool is stable on its hook and does not wobble. A well-organized wall saves time and reduces frustration.
Store Tools in a Dry, Protected Area
After hanging, ensure your storage area remains dry and well-ventilated. If your shed or garage is humid, place a bucket of silica gel or sand mixed with a little oil in the corner to absorb moisture. Alternatively, use a dehumidifier if electricity is available. Do not store tools near a water heater, dryer, or any area with high humidity. If you live in a coastal area or have a damp climate, consider using a moisture-absorbing product specifically for tool storage. Check your tools every few weeks, especially after weather changes, to spot any signs of rust or moisture. Wipe down any tools that feel damp. This final step ensures your tools stay in top condition for the next gardening season. A dry environment is the single most important factor in preventing rust and wood rot.
Quick Reference
| Situation | Action | Why it helps |
|---|---|---|
| You just finished digging in wet soil and your shovel is caked with mud. | Hose off the shovel immediately, dry it with a cloth, and apply a light coat of oil before storing. | Removing wet soil right away prevents moisture from staying against the metal, which avoids rust formation. |
| You notice a small rust spot on the blade of your pruning shears. | Rub the spot with fine sandpaper until it disappears, then apply a thin oil layer to the blade. | Removing rust early stops it from spreading and damaging the metal, preserving the blade's sharpness and strength. |
| Your tools are stored in a shed that gets damp in the winter months. | Place a bucket of silica gel or a dehumidifier in the shed, and check tools monthly for moisture. | Reducing humidity prevents condensation from forming on metal surfaces, which is the primary cause of rust in storage. |
Common Issues
- Rust forms on tool heads even after storing.: You likely did not dry tools thoroughly before storage or did not apply enough oil. Clean off rust, dry completely, and apply a heavier layer of oil. Also, store tools in a dryer location or add a moisture absorber.
- Wooden handles crack or splinter over time.: Handles crack when they dry out or are exposed to frequent wet-dry cycles. Sand rough areas, then apply boiled linseed oil to the wood and let it penetrate. Repeat a few times a year, especially before and after wet seasons.
- Tools become dull quickly after sharpening.: Dullness often results from improper sharpening angle or lack of maintenance. Sharpen the blade at the original bevel angle, use a honing steel regularly, and always store tools so they do not knock against each other, which can dull edges.
Advanced Tips
- Use a plastic bin filled with dry sand mixed with a little motor oil to dip tool heads into after cleaning—this cleans and coats them simultaneously.
- For tools with wooden handles, sand the handle lightly once a year and apply a mixture of boiled linseed oil and turpentine to keep the wood supple and resistant to moisture.
- Create a seasonal maintenance calendar: check tools in spring and fall, and sharpen cutting edges at the beginning of each gardening season for optimal performance.
Final Checklist
- Clean each tool with a brush and soapy water to remove all dirt and sap.
- Dry tools completely with a cloth and let them air-dry for an hour.
- Remove rust and sharpen blades as needed, then apply oil to metal and wooden parts.
- Hang tools on a wall rack in a dry, ventilated area, and check them monthly for moisture or rust.
FAQ
Can I store garden tools outside?
Storing tools outside is not recommended because exposure to rain, humidity, and temperature changes accelerates rust and wood decay. If you must store them outside, use a waterproof storage box or a covered shed, and always clean, dry, and oil tools before storing. Check them regularly for moisture.
How often should I oil my garden tools?
Oil metal parts after every thorough cleaning and before long-term storage. For tools used regularly, a light wipe with oil as part of cleaning is sufficient. For wooden handles, oil them a few times a year or whenever they look dry. A good habit is to oil tools at the start and end of each gardening season.
What is the best way to hang long-handled tools like shovels?
Use a wall-mounted rack with large hooks or clips that grip the handle securely. Alternatively, use a pegboard with sturdy hooks designed for heavy tools. Hang tools upside down by the head if possible to keep the handle off the ground, but ensure it is stable. This prevents bending and keeps them out of the way.