Patio Maintenance Checklist
A practical step-by-step guide to patio maintenance checklist, including preparation, instructions, common issues, tips, and next steps.
Patio Maintenance Checklist
This patio maintenance checklist walks you through a seasonal routine to keep your outdoor space clean, safe, and welcoming. It covers clearing debris, inspecting for damage, cleaning surfaces, checking furniture and fixtures, protecting materials, and planning regular upkeep. Each step explains why the task matters and offers practical tips to avoid common mistakes, helping you extend the life of your patio and prevent costly repairs.
Fast Answer
- Start by sweeping the patio free of leaves, dirt, and debris, then inspect for cracks, loose pavers, or damaged sealant before cleaning.
- Use a mild cleaner and a stiff brush or pressure washer on a low setting to remove stains, mildew, and grime, then rinse thoroughly and allow to dry.
Before You Start
- Gather your tools: a broom, stiff brush, garden hose, mild detergent, bucket, and a scraper or putty knife for stubborn spots.
- Check the weather forecast for a dry day with no rain expected for at least 24 hours, so the patio can dry completely.
- Move all furniture, planters, and decorations off the patio to give yourself clear access to every surface.
- Inspect the patio for any sharp edges, loose stones, or protruding nails that could cause injury during cleaning.
Step-by-Step Instructions
Clear All Debris and Sweep Thoroughly
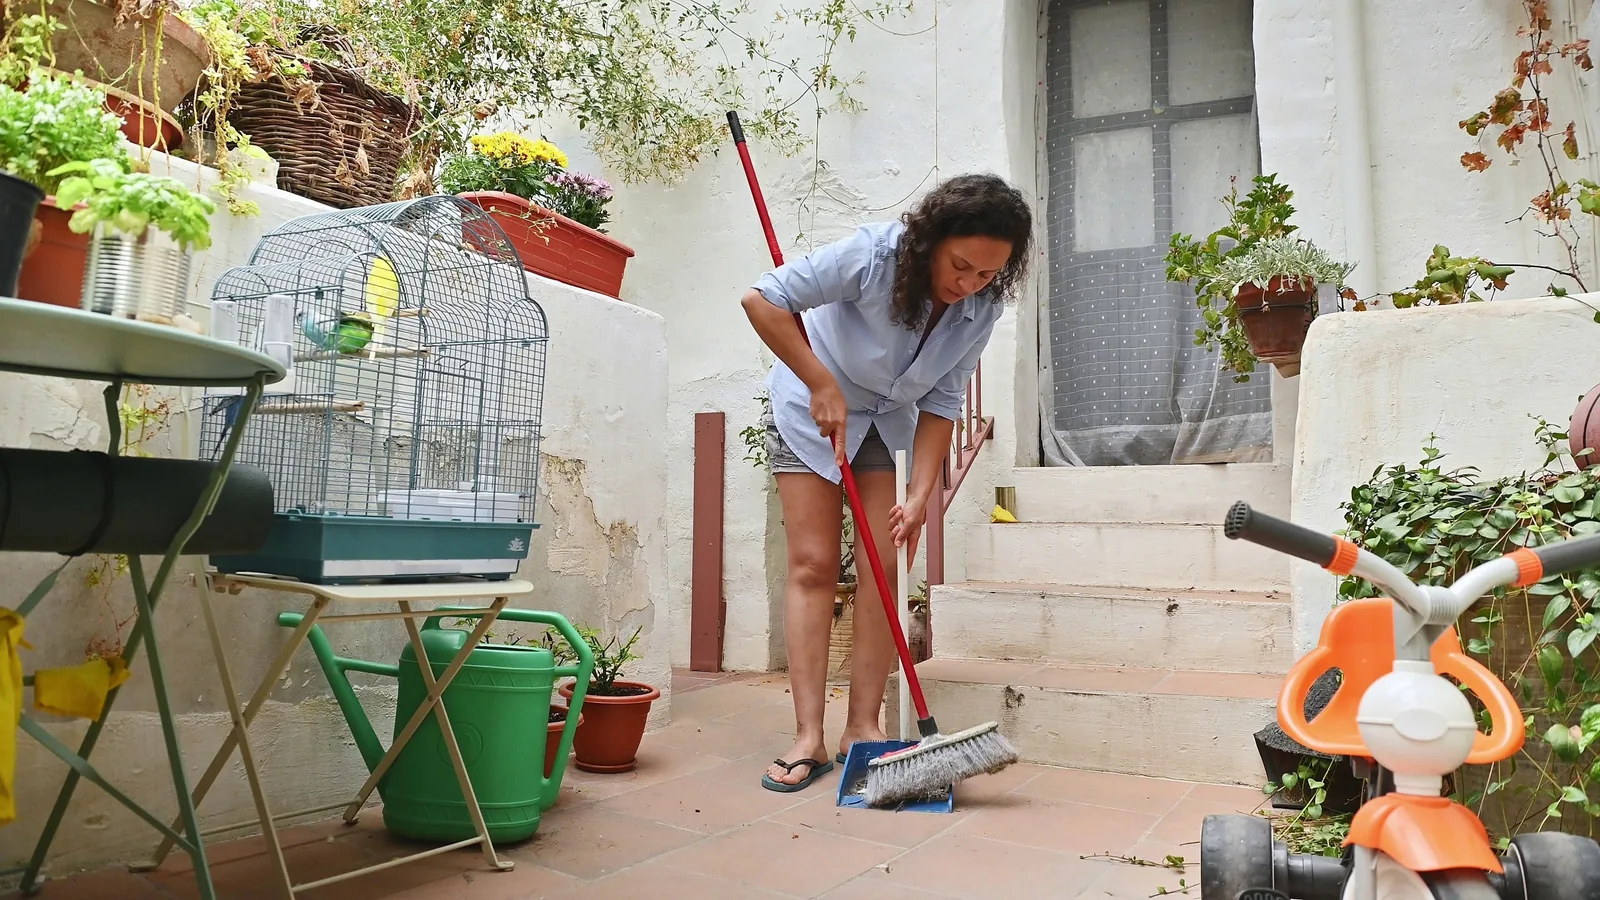
Begin by removing every movable item from the patio, including furniture, planters, doormats, and decorative pieces. This gives you a clear working area and prevents anything from getting in the way or being damaged. Sweep the entire surface with a stiff broom to remove loose leaves, dirt, grass clippings, and small stones. Pay special attention to corners, along the edges of the patio, and in the gaps between pavers where debris tends to accumulate. If there is a drain or gutter nearby, make sure it is clear so that water can flow away freely and not pool. Removing debris first prevents it from becoming trapped in the cleaning solution and creating a muddy mess. It also helps you spot any hidden issues like cracks, loose tiles, or crumbling mortar sooner. A thorough sweep keeps the patio from looking worn and stops organic matter from staining the surface.
Inspect the Patio Surface for Damage
Once the patio is clean and dry, walk slowly across the entire area and look for signs of wear, cracks, chips, or uneven sections. Check each paver, tile, or slab for hairline cracks, spalling (flaking surface), or movement. Look for any loose stones that can become a tripping hazard or cause water to pool. Examine the joints where pavers meet—if the sand or mortar is washing away, note where it needs to be refilled. Also, inspect the edges of the patio where it meets the house or a wall, and check the sealant if it is present. If you find any damage, mark it with a piece of chalk or a small flag so you can address it after cleaning. Finding problems early helps you make small repairs before they expand, saving you money and preventing safety issues. Ignoring a cracked paver can allow water to seep into the base, causing the entire patio to shift.
Choose and Apply the Right Cleaner
Select a cleaner that matches your patio material. For concrete, stone, or pavers, a mild dish soap or a commercially available patio cleaner works well. For wood, use a specialized wood cleaner or a mixture of warm water and mild soap. Always read the label to make sure the cleaner is safe for your specific surface and for plants nearby. Mix the cleaner according to the instructions in a bucket, then apply it to a small section of the patio using a stiff brush or a mop. Do not cover the whole patio at once—work in manageable sections, such as a four-by-four-foot area, so the cleaner does not dry before you scrub it. Let the cleaner sit for a few minutes to loosen grime, but not so long that it leaves a residue. Then scrub gently with a stiff brush, applying even pressure to lift stains without abrading the material. This method ensures even cleaning and prevents streak marks or damage.
Scrub Stains and Treat Mildew
After the cleaner has sat, go over the entire surface with a stiff-bristle brush to scrub away dirt, grime, algae, and mildew. For tough spots like bird droppings, rust stains, or old grease, use a scraper or a putty knife to loosen them first, then scrub. If you see dark patches that might be mildew or mold, apply a solution of one part bleach to four parts water (or a commercial mildew remover) directly to those areas, but only if it is safe for your patio material. Let the solution sit for about 10–15 minutes, then scrub with a brush. Always wear gloves and work in a well-ventilated area. Rinse the patio with a garden hose on a gentle setting to wash away all the cleaner, dirt, and debris. Stand back and check that no soapy film remains. Mildew and algae can make the surface slippery, so cleaning them is essential for safety.
Rinse and Dry the Patio Completely
Use a garden hose with a spray nozzle set to a moderate or wide spray to rinse the entire patio. Start at one end and move to the other in overlapping paths, thoroughly washing away all soapy residue and loosened grime. Be careful not to blast water under high pressure into the joints between pavers, as this can wash out the sand or mortar. After rinsing, allow the patio to air dry completely for at least 24 hours before putting furniture back. If the weather is cool or humid, drying may take longer, so check the surface with your hand to see if it is truly dry. A dry patio prevents moisture from being trapped under furniture or in the sealant that you might apply later. If you plan to reseal the patio, the surface must be absolutely dry or the sealant will not adhere properly. Also, walking on a wet patio can leave footprints and make the surface look dirty.
Apply Protective Sealant
After the patio is dry and you have completed any necessary repairs to cracks or loose stones, it is time to apply a sealant. Choose a sealant that is designed for your patio material, such as a penetrating sealer for concrete or stone, or a film-forming sealer for pavers. Check the label to confirm it is suitable for outdoor use and for the climate you live in. Apply the sealant with a brush, roller, or sprayer in thin, even coats, following the manufacturer's directions regarding temperature and humidity. Work in manageable sections and avoid puddling. Allow the first coat to dry completely, then apply a second coat if recommended. Sealing the patio protects it from water absorption, stains, and frost damage, and it can also enhance the color of the stone or pavers. It also makes future cleaning much easier because spills will not soak in. Always test the sealant on a small hidden area first.
Quick Reference
| Situation | Action | Why it helps |
|---|---|---|
| You notice small cracks or chips in concrete pavers. | Clean the crack with a brush, remove any loose pieces, and fill it with a concrete patch or caulk that matches the color, then let it dry and check for level. | Sealing small cracks promptly prevents water from seeping in and causing the base to erode, which could lead to larger sinking or shifting problems. |
| Furniture legs leave rust marks or stains on the patio surface. | Place plastic or rubber caps under each piece of furniture and clean existing stains with a rust remover or a paste of lemon juice and salt, then rinse. | Caps prevent metal-to-stone contact that leads to rust stains, and treating the spots early keeps the patio looking clean and prevents permanent discoloration. |
| Weeds or grass grow between the gaps in your pavers. | Pull the weeds by hand or use a narrow-bladed weeder to remove the roots, then fill the joints with fresh polymeric sand and compact it lightly. | Removing weeds and topping up the sand helps keep the paver joints stable and prevents water from undermining the base, which keeps the patio level and safe. |
Common Issues
- Patio surface looks dull and has a gray film that doesn't wash off.: Use a cleaner specifically formulated for your patio material, scrub with a stiff brush, and then rinse thoroughly. If the film remains, it may be efflorescence (mineral deposits), so apply a product designed to dissolve it or use a diluted muriatic acid solution, but only on concrete or stone that can tolerate acid.
- Slippery sections after rain, especially near shaded areas.: Clean the area with a moss and mildew remover, then increase sunlight by trimming overhanging branches. For a permanent solution, apply a non-slip sealant or add anti-slip strips to the surface, and keep the area well-swept to prevent algae growth.
- Water pools in low spots after a rain, creating puddles.: Identify the low spots and fill them with a leveling material such as a mortar mix, then re-seal the area. If the patio is concrete, you may need to have it professionally lifted or re-poured to ensure proper drainage.
Advanced Tips
- Inspect the patio after a heavy rain to see where water collects and how fast it drains, so you can address any hidden drainage issues early.
- Consider installing a waterproof patio cover or awning to reduce direct rain impact, which can prolong the life of the surface and reduce cleaning frequency.
- Use a drill with a soft brush attachment to clean between pavers without damaging the joints, making the job faster and more thorough.
Final Checklist
- Sweep the patio and remove all furniture, planters, and accessories to expose the entire surface.
- Inspect all surfaces for cracks, loose stones, or damaged sealant and mark them for repair.
- Clean the patio with a suitable cleaner and a stiff brush, then rinse thoroughly with a hose.
- Allow the patio to dry completely, then apply a quality sealant if needed and replace any furniture with protective caps.
FAQ
How often should I deep clean my patio?
Most patios benefit from a thorough deep clean at least twice a year—once in early spring to remove winter grime and again in autumn to clear fallen leaves and debris before cold weather sets in. If your patio gets heavy use or is shaded, you may need to clean it more frequently to prevent mildew and stains. Regular sweeping and prompt spot cleaning extend the time between deep cleans and keep the patio looking its best.
Can I use a pressure washer to clean my patio?
Yes, you can use a pressure washer, but you must set it to a low or medium pressure and use a wide spray nozzle. Hold the wand several inches away from the surface to avoid etching or chipping the material. Always test a small hidden area first. For delicate surfaces like brick or limestone, it is safer to use a garden hose and manual scrubbing. Never point the pressure washer at the joints between pavers, as it can wash out the sand.
What is the best way to remove oil stains from concrete pavers?
Start by blotting up any excess oil with absorbent material like cat litter or baking soda, and let it sit overnight. For deeper stains, apply a paste of baking soda and water or a commercial degreaser, scrub gently, and rinse. If the stain persists, you may need to use a special stone poultice. Always wear gloves and work in a well-ventilated area, and test any product on a tiny spot first.